Installing ceiling fans, exhaust fans, and wall fans can improve ventilation and air circulation in your home. However, the complexity and potential electrical work involved vary depending on the fan type installation or hiring a professional:
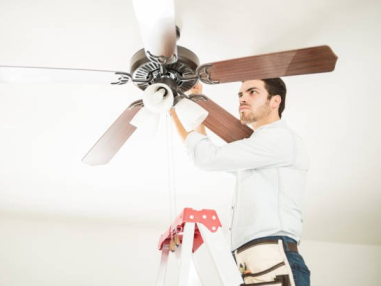
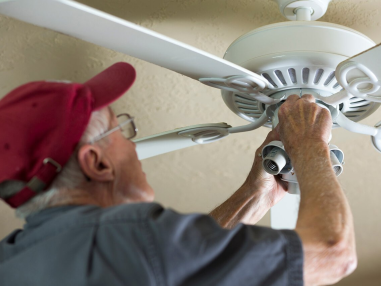
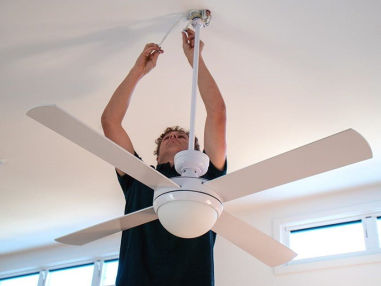
Ceiling Fan Installation:
Suitable for: Individuals comfortable with basic electrical tasks and following clear instructions.
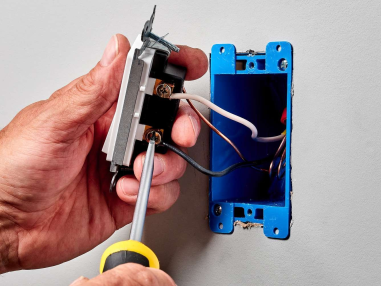
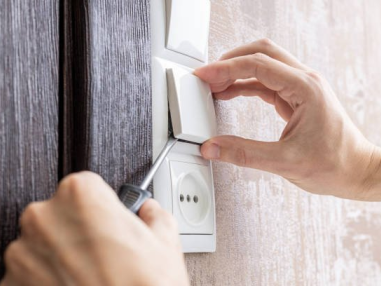
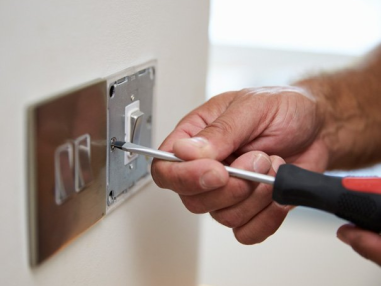
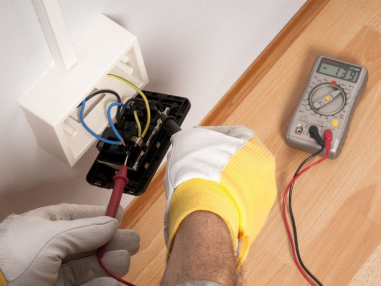
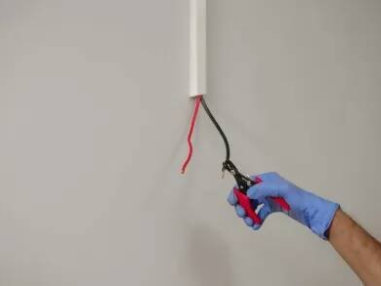
Safety First: Always turn off the power to the circuit controlling the fan at the breaker box before starting any electrical work. Use a voltage tester to confirm the power is off before proceeding.
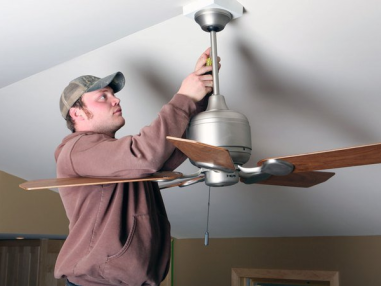
Steps involved: These typically involve following the manufacturer's instructions, which might include mounting the bracket, securing the wires (matching colors), connecting the fan blades and motor assembly, and balancing the blades.
Things to Consider Before Ceiling Fan Installation:
Your Comfort Level: If you're unsure about any steps or electrical work is involved, call a professional electrician to avoid mistakes.
Fan Weight and Complexity: Heavy fans or those with complex wiring (multiple speeds, light kits) are best left to professionals.
Ceiling Box Compatibility: Ensure your ceiling box is rated for the weight of the fan you choose. Upgrading the box might be necessary.
Professional Installation:
Licensed electricians have the expertise and knowledge to ensure safe and code-compliant installation, especially for heavier fans or complex wiring.
They can handle any necessary electrical work, including wiring and switch installations.
This is the recommended option if you're not comfortable with electrical work or for complex installations.
Exhaust Fan Installation:
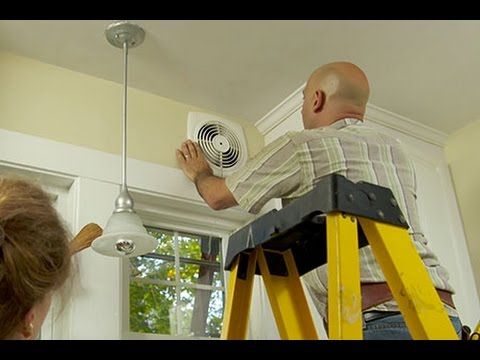
Suitable for: Straightforward installations, particularly replacing an existing exhaust fan in the kitchen or bathroom.
Safety First: Turn off the power and identify the location of any electrical wires or ductwork before cutting into walls or ceilings.
Steps involved: These typically involve removing the old fan (if applicable), cutting a hole for the new fan (if needed), connecting the ductwork (if applicable), wiring the fan to the electrical box (following codes), and securing the fan in place.
Things to Consider Before DIY Exhaust Fan Installation:
Electrical Work and Ductwork: If wiring connections or ductwork modifications are needed, call a professional electrician or HVAC technician to ensure safety and proper ventilation.
Cutting Holes: Be cautious when cutting into walls or ceilings to avoid electrical wires, plumbing pipes, or studs.
Professional Installation:
Qualified electricians or HVAC technicians can handle the entire installation process, including electrical wiring, ductwork modifications, and safe cutting in walls or ceilings.
They ensure proper ventilation and code compliance.
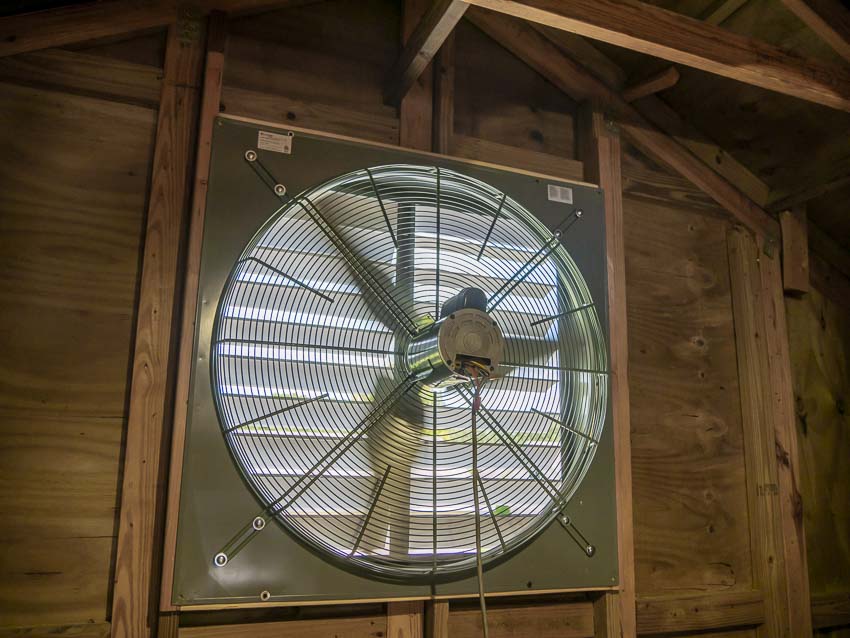
Wall Fan Installation:
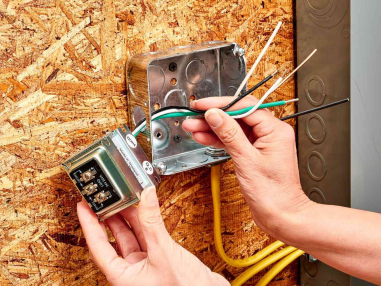
Electrical Work: If wiring connections are complex or require modifications to your electrical system, call a professional electrician to ensure safety and code compliance.
Cutting Holes: Use caution when cutting into walls to avoid electrical wires, plumbing pipes, or studs.
Professional Installation:
Licensed electricians can handle the entire installation process, including safe electrical wiring and cutting into walls.
They ensure proper installation and code compliance.
General Tips:
Consult the fan's installation manual: Follow the manufacturer's instructions carefully for safe and proper installation.
Turn off the power: Always ensure the power is off at the breaker box before starting any electrical work.
Consider hiring a professional: If you're unsure about any steps, especially electrical work, or the installation seems complex, err on the side of caution and hire a qualified professional.
