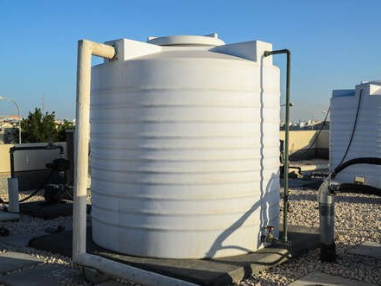
Overhead tank installation (500L-2000L) (1 hr 30 mins)
Overhead tank installation is a crucial step in ensuring a consistent water supply for your home. While it can be tempting to tackle it yourself, it's often recommended to hire a professional plumber for several reasons:
Safety Concerns:
Weight and Height: Overhead tanks are heavy, especially when filled with water. Improper installation can lead to the tank collapsing and causing significant damage
or injury.
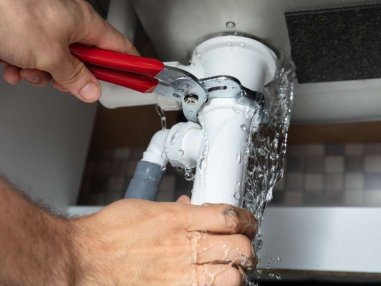
Waterproofing and Leaks: Even minor leaks from a poorly installed tank can lead to water damage in your roof or walls. A professional plumber has the expertise to
ensure a watertight seal between the tank and the supporting structure.
Stability and Support: The tank needs a sturdy and level base to prevent tipping or structural damage. A professional plumber can assess your roof structure and
ensure proper support for the tank's weight.
Technical Expertise:
Plumbing Connections: Connecting the tank to your existing plumbing system requires knowledge of plumbing codes and proper installation techniques to avoid leaks or
functionality issues.
Overflow and Venting: Overhead tanks need proper overflow and venting systems to prevent damage in case of overfilling or pressure build-up. A professional plumber
can ensure these systems are installed correctly.
Benefits of Hiring a Professional:
Peace of Mind: Knowing your tank is installed securely and up to code provides peace of mind and avoids potential future problems.
Warranty Coverage: Some tank manufacturers might require professional installation to validate the warranty.
Efficiency and Time-Saving: A professional plumber can install the tank efficiently, saving you time and effort.
However, if you're a highly skilled and comfortable with plumbing tasks, you can attempt the installation yourself. Here's what to consider (Disclaimer: This information is for guidance only, and it's strongly recommended to consult a professional plumber for safe and proper installation):
Local Building Codes: Research and ensure your installation complies with your local building codes.
Tools and Materials: Gather the necessary tools and materials, including the tank, stand (if not pre-attached), sealant, plumbing connectors, safety gear, etc.
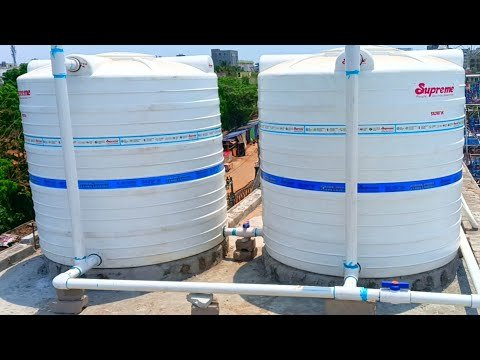
Tank Location and Support: Choose a location on your roof that can support the weight of the filled tank. Ensure the structure is strong enough, and consult a
structural engineer if necessary.
Tank Base Preparation: Create a level and stable base for the tank using bricks, concrete, or a pre-made stand.
Plumbing Connections: Connect the tank to your existing inlet and outlet pipes using appropriate connectors and ensuring a watertight seal.
Overflow and Venting: Install an overflow pipe to prevent overfilling and a vent pipe to release pressure build-up.
Important Safety Precautions :
Always work with a helper, especially when lifting or positioning the tank.
Use proper safety gear, including gloves, goggles, and sturdy shoes.
Double-check all connections for leaks before filling the tank completely.
If you encounter any difficulties or uncertainties during the process, stop and consult a professional plumber.
Overall Recommendation:
While overhead tank installation can be done by skilled DIYers, it's a critical home improvement project. Considering the safety risks, potential for leaks and damage, and technical aspects, hiring a licensed plumber is often the safest and most reliable option. They can ensure a secure, code-compliant installation that provides a steady water supply for your home for years to come.