Installing a wash basin can be a rewarding DIY project if you have the necessary skills and tools. Here's a breakdown of the process for two common types of wash basin installations
Table-Top Wash Basin Installation:
This is a common type of installation where the basin sits on top of a countertop with the faucet mounted on the basin itself.
Tools and Materials:
Adjustable wrenches
Screwdrivers
Basin wrench (optional, for tight spaces under the sink)
Bucket (to catch water)
Teflon tape
New wash basin with tap (ensure compatibility with existing plumbing)
Shut-off valves (if replacing existing ones)
Steps:
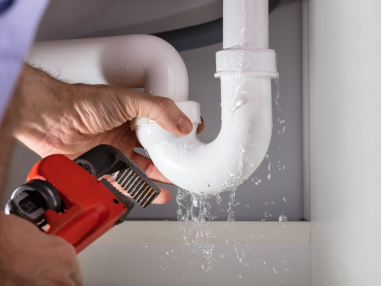
Turn Off Water Supply: Locate the shut-off valves for the hot and cold water lines supplying the basin and turn them completely off using adjustable wrenches.
Open the Tap to Release Pressure: Open the handle of the existing basin tap to relieve any remaining water pressure in the lines.
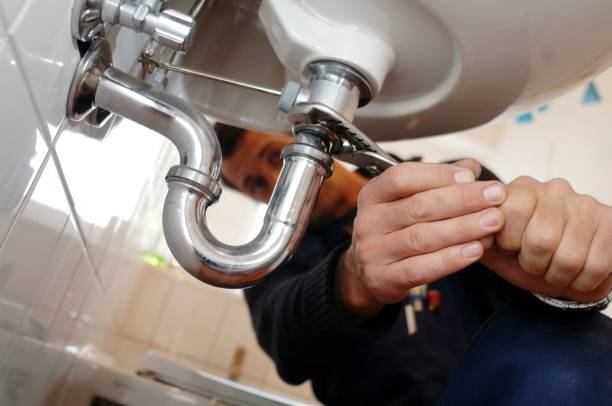
Trap (U-bend pipe): Loosen the nuts holding the trap to the basin and drain pipe underneath the sink.
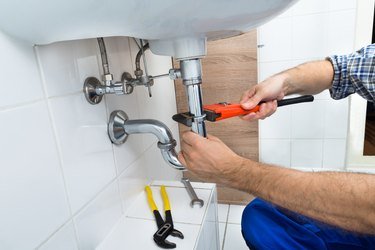
Water Supply Lines: Use adjustable wrenches to disconnect the nuts holding the water supply lines to the shut-off valves and the faucet body.
Basin itself: Carefully lift the old basin from the countertop.
Install Shut-off Valves (if replacing): If replacing the shut-off valves, install the new ones following the manufacturer's instructions.
Prepare the Sinktop (if necessary): Some basins may require drilling holes in the countertop for the faucet. Follow the manufacturer's instructions for drilling and
nsure proper hole size and placement.
Position the New Basin: Place the new basin on the countertop, ensuring proper alignment with the drain and water supply lines.
Attach the Drain Trap: Connect the new basin's drainpipe to the trap (U-bend pipe) and secure the connections with nuts and washers, following the manufacturer's instructions.
Connect the Water Supply Lines: Most basins come with flexible braided hoses for hot and cold water connections. Using adjustable wrenches and Teflon tape, connect these hoses to the shut-off valves and the corresponding hot and cold water inlets on the faucet body.
Install the Faucet: Following the manufacturer's instructions, install the faucet onto the basin and tighten the connections securely.
Turn on the Water Supply Slowly: Gradually turn on the hot and cold shut-off valves. Open the faucet handles and check for leaks around all connections. Tighten if necessary.
Test the Basin Operation: Turn on the hot and cold water and adjust the handles to ensure proper water flow and temperature control.
Wall-Mount Wash Basin Installation:
This type of basin hangs directly on the wall with the faucet mounted separately on the wall behind the basin.
Tools and Materials (In addition to table-top installation items):
Drill with drill bits (sizes specified in instructions)
Level
Stud finder
Hammer and chisel (depending on installation)
Wall plugs and screws
Carrier frame (specific to your basin model)
Steps:
Matching Replacement Parts: Ensure your new basin and faucet are compatible with your existing plumbing (pipe size and configuration) and countertop (number of tap holes for table-top basins).
Following Instructions: Refer to the new basin and faucet manuals for specific installation steps,