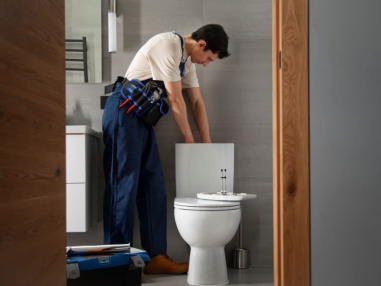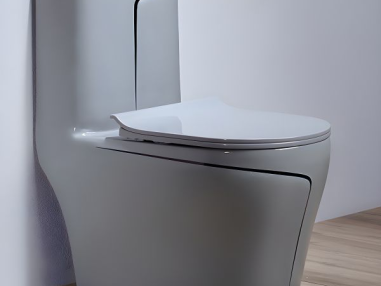
Replacing a floor-mounted western toilet can definitely , but it requires some planning and basic plumbing knowledge. Here's a breakdown to help you decide if you should tackle it yourself
Suitable for Floor-Mounted Toilet Replacement (if you have):
Basic Plumbing Skills: Understanding how toilets connect to water supply lines and drainage systems is essential.
Matching Replacement Toilet: If you're replacing an existing toilet with a similar model that utilizes the same waste outlet and water supply connection points, it
simplifies the process.
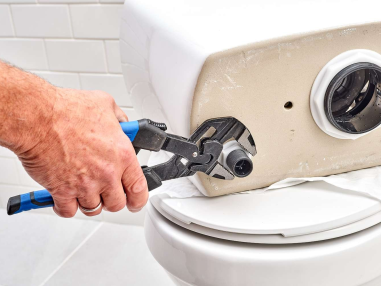
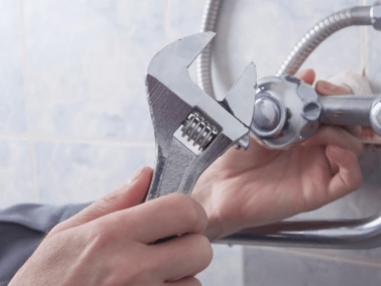
Standard Tools: The installation usually requires adjustable wrenches, screwdrivers, a level, tape measure, and a bucket (for potential drips).
Shut-Off Valve Accessibility: The ability to easily shut off the water supply to the toilet is crucial.
Steps Involved in Floor-Mounted Toilet Replacement (General Overview):
Turn Off the Water Supply: Locate the shut-off valve for the toilet and turn off the water supply completely. This prevents water flow while you replace the toilet.
Disconnect the Old Toilet: Empty any remaining water from the tank. Disconnect the water supply line and the toilet bolts from the floor flange. Carefully remove the old toilet and dispose of it properly.
Prepare the Floor Flange: Ensure the floor flange (the waste outlet pipe connection on the floor) is secure and level. If replacing the flange is necessary, consult a professional plumber.
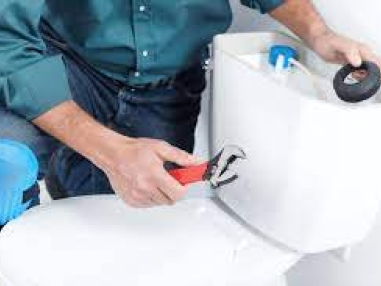
Install the New Toilet Wax Ring: Place a new wax ring (creates a watertight seal) on the floor flange, positioning the hole in the center.
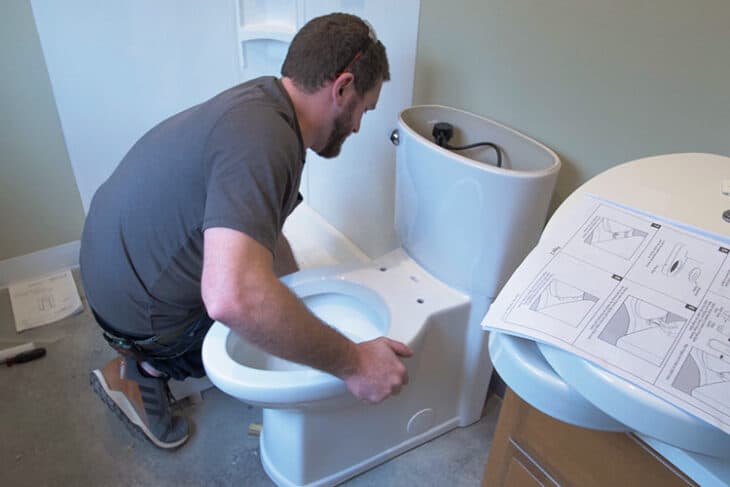
Set the New Toilet Bowl: Carefully lower the new toilet bowl onto the flange, ensuring the wax ring compresses to form a seal.
Secure the Toilet to the Floor: Insert the toilet bolts through the holes in the toilet bowl base and secure them with washers and nuts onto the floor flange.
Tighten the nuts evenly but firmly (avoid over-tightening).
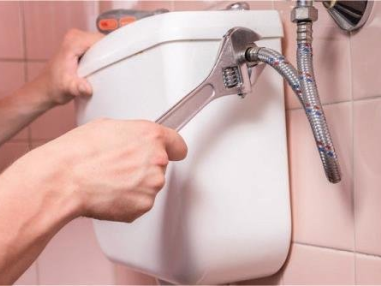
Connect the Water Supply Line: Reconnect the water supply line to the new toilet's fill valve using a flexible hose connector. Ensure a secure connection and use Teflon tape for leak prevention.
Level the Toilet Bowl: Use shims (thin wedges) under the toilet base if necessary to achieve a level position. Check for rocking and ensure proper drainage.
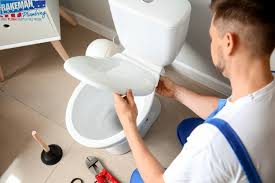
Reconnect the Tank and Install Seat: Reattach the toilet tank to the bowl, following the manufacturer's instructions and tightening connections securely. Install the toilet seat and lid.
Turn on the Water Supply Slowly: Open the shut-off valve gradually and check for leaks around the connections. Tighten any loose connections if necessary.
Test the Flush: Flush the toilet to check for proper flushing function and ensure there are no leaks around the base or tank connections.
Important Considerations for DIY Floor-Mounted Toilet Replacement:
Matching Toilet Model: Ensure the new toilet has the same rough-in (distance between waste outlet and wall) measurement as the old toilet to avoid needing plumbing modifications.
Proper Sealing: A secure wax ring seal is crucial to prevent leaks around the toilet base.
Following Instructions: Refer to the new toilet's installation manual for specific instructions and torque recommendations for connections.
When to Call a Professional Plumber:
Complex Plumbing Systems: If your bathroom has a complex plumbing layout or requires modifications to pipes for the new toilet, it's best to call a professional p
plumber.
Cracked Floor Flange or Drainage Issues: If the floor flange is cracked or damaged, or if you suspect drainage problems beyond the toilet itself, professional help is recommended.
Hidden Leaks or Wall Repairs: Leaks originating from concealed pipes within the wall, or if toilet replacement involves wall repairs, necessitate a professional
plumber to avoid further damage.
Limited Experience or Confidence: If you lack confidence in your skills or feel uncomfortable working with plumbing connections, don't hesitate to call a
professional plumber for a secure and leak-free installation.
