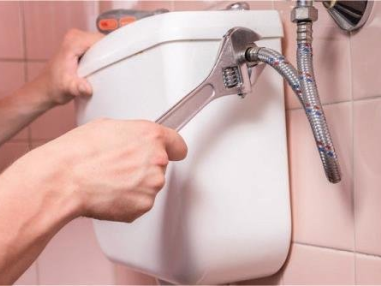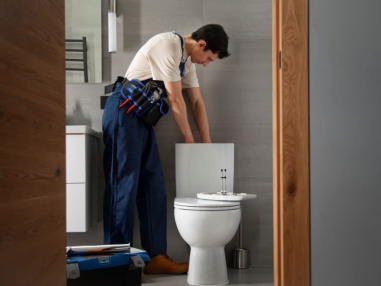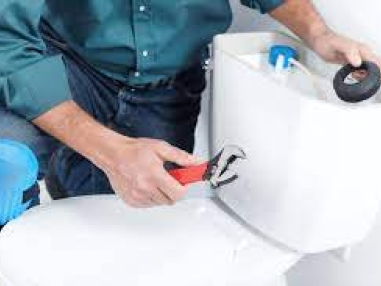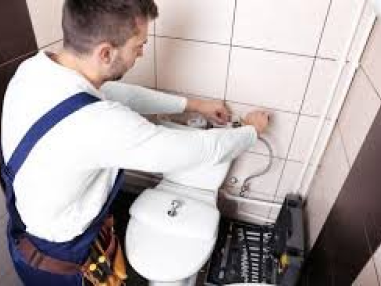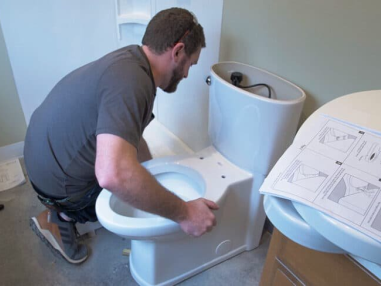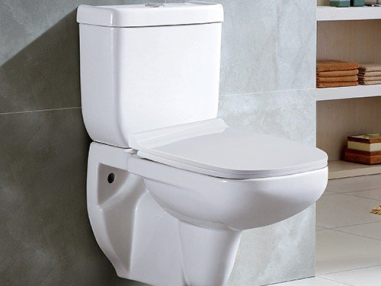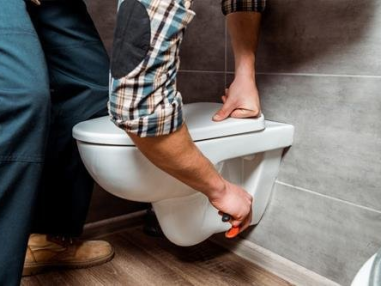
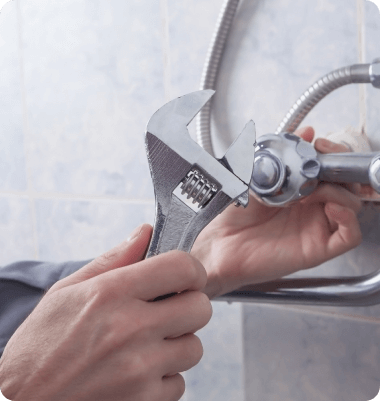
There are two main approaches to jet spray installation and repair
Do-It-Yourself:
This might be suitable if you have some plumbing experience and the right tools. Here's a breakdown to help you decide:
Suitable for:
Strong Plumbing Skills: Understanding concealed tank systems, water pressure requirements, and proper drainage is crucial.
Experience with Wall Fixtures: Experience installing other wall-mounted fixtures (bathroom sinks, cabinets) is helpful.
Advanced Tools: The job usually requires a drill, level, wrench set, pipe cutters (for specific situations), and possibly a stud finder.
Matching Replacement Jet Spray (or knowledge of existing model): If replacing an existing jet spray, ensure the new model is compatible with your existing carrier
frame and uses the same rough-in measurements (distance between the waste outlet and the wall).
Steps Involved in Jet Spray Installation (General Overview):
Turn Off Water Supply and Empty Tank: Locate the shut-off valve and turn off the water supply completely. If replacing an existing jet spray, flush the toilet to
empty the tank and disconnect the water supply line.
Install or Prepare the Carrier Frame (if applicable): Follow the manufacturer's instructions to secure the carrier frame to the wall studs using appropriate
fasteners. Ensure proper alignment and height based on the waste outlet and water supply connections.
Connect Water Supply and Drainage: Connect the water supply line to the fill valve on the carrier frame and the jet spray unit using flexible hoses, ensuring secure and leak-proof connections (use Teflon tape). Connect the jet spray waste outlet pipe to the drainage system, following the manufacturer's recommendations.
Mount the Jet Spray: Hang the jet spray unit onto the carrier frame, aligning it properly and following the manufacturer's instructions for securing it to the frame.
Install the Controls: Mount the control panel onto the wall and connect it to the jet spray unit following the manufacturer's guide.
Leak Testing and Final Touches: Once everything is assembled, turn on the water supply slowly and check for leaks around all connections. Tighten if necessary.
Install the jet spray hose and holder.
Steps Involved in Jet Spray Repair (General Overview):
Turn Off Water Supply: Locate the shut-off valve and turn off the water supply completely.
Identify the Problem: Is it a leak, a loose connection, or a malfunctioning spray mechanism?
Consult the Manual: Refer to the manufacturer's instructions for troubleshooting steps specific to your jet spray model.
Repair or Replace: Depending on the problem, you might be able to fix a loose connection, replace a washer, or tighten a hose clamp. If the issue is more complex or requires part replacement, it's best to call a professional plumber.
Important Considerations for Jet Spray Installation/Repair:
Hidden Leaks: Since the tank is concealed, even small leaks can cause significant damage within the wall. Double-check all connections for leaks during testing.
Weight Support: Wall-mounted jet sprays put stress on the wall. Ensure the carrier frame is securely fastened to studs that can handle the weight of the unit.
Following Instructions Precisely: Improper installation or repair can lead to leaks or malfunctions. Follow the manufacturer's instructions meticulously.
Calling a Professional Plumber:If you lack the necessary skills, confidence, or encounter complex situations, consider calling a professional plumber:
Complex Plumbing Systems: If your bathroom has a complex plumbing layout or requires modifications to pipes for the jet spray, it's best to call a professional.
Limited Experience or Confidence: Don't hesitate to call a professional if you feel uncomfortable working with concealed plumbing systems and weight-bearing wall installations.
Hidden Damage or Structural Concerns: If you suspect any damage behind the wall where the jet spray will be mounted, or have concerns about the structural integrity of the wall, consult a professional plumber to assess the situation.
Repair Beyond Basic Fixes: If the jet spray repair requires replacing internal components or involves soldering, it's best to call a professional plumber.
Finding a Qualified Plumber:
Get Recommendations: Ask friends, family, or local hardware stores for recommendations on reputable plumbers experienced in jet spray installations or repairs.
Check Online Reviews: Read online reviews to gauge customer experiences with potential plumbers.
Verify Credentials: Ensure the plumber is licensed and insured.
Get Quotes: Obtain quotes from several plumbers to compare pricing and services offered.
