Flush Tank Repair
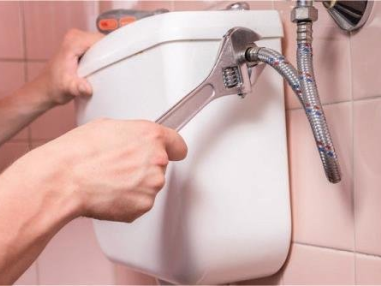
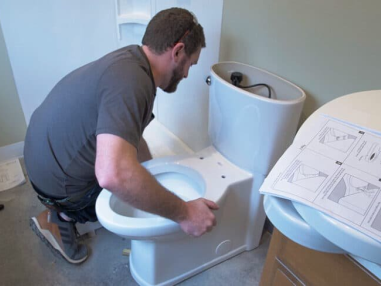
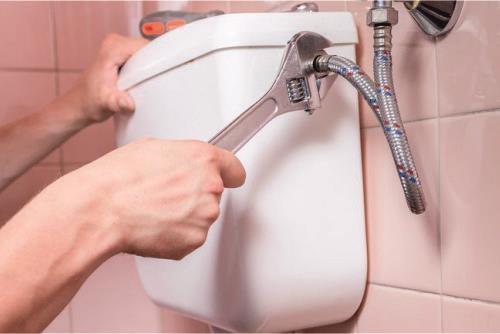
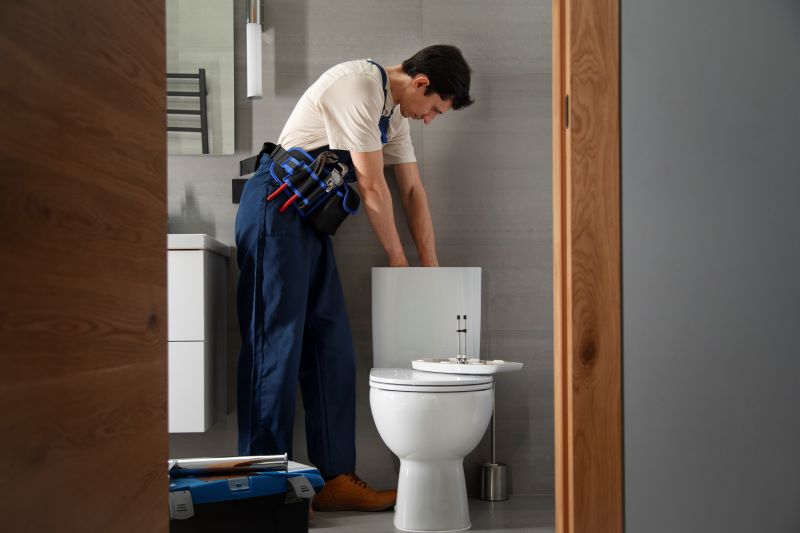
Fixing an external leak on a PVC flush tank can potentially be a DIY project, but it requires a bit more knowledge than repairing leaks within the tank itself.
Suitable for Repair (if you have):
Basic Plumbing Knowledge: Understanding how the toilet tank connects to the water supply and how the flush mechanism works is helpful.
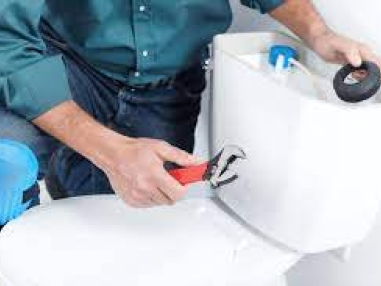
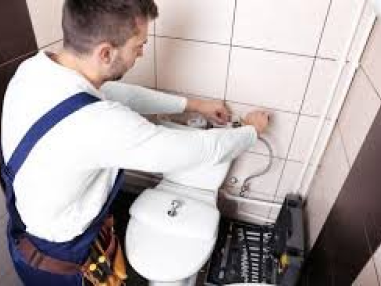
Manual Dexterity and Tools: The repair might involve using wrenches, screwdrivers, and possibly a pipe cutter (for specific repairs).
Replacement Parts: Having the appropriate replacement parts, like shutoff valves, gaskets, or coupling nuts (depending on the leak source) is crucial.
Common Causes of Flush Tank Leaks:
Leaking Connection at the Shut-Off Valve: The connection between the shut-off valve and the fill pipe might be loose or have a worn-out gasket.
Cracked Fill Pipe: Over time, PVC pipes can develop cracks, causing leaks.
Leaking Coupling Nuts: The connections between pipes or between the tank and the supply line might have loose or damaged coupling nuts.
Steps Involved in Flush Tank Repair (General Overview):
Turn off the Water Supply: Locate the shut-off valve for the toilet and turn off the water supply completely. This prevents water from flowing while you repair the
leak.
Drain the Tank: Flush the toilet to empty the tank as much as possible. You can also use a cup to remove any remaining water.
Identify the Leak Source: Carefully examine the external PVC pipes and connections around the tank to pinpoint the exact location of the leak.
Repairing the Leak (depending on the source):
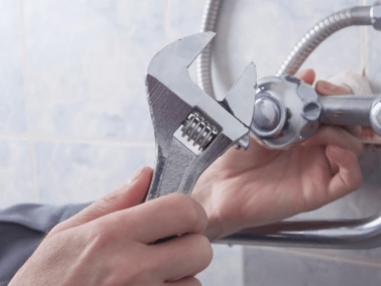
Leaking Shut-off Valve: Tighten the packing nut on the valve stem. If that doesn't stop the leak, you might need to replace the shut-off valve entirely.
Cracked Pipe: For small cracks, you can use a repair coupling or clamp (patch) designed for PVC pipes. Extensive cracks may require replacing the entire pipe
section.
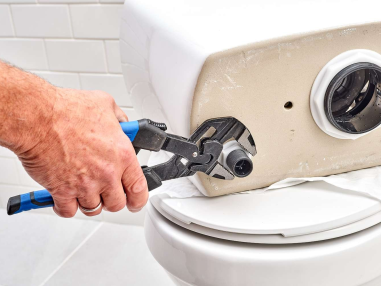
Leaking Coupling Nuts: Tighten the loose coupling nut with a wrench. If the leak persists, replace the nut and ensure a good seal with Teflon tape.
Reassemble Connections (if applicable): When replacing parts or using repair couplings, ensure everything is reassembled securely with proper tightening and sealing with Teflon tape.
Turn on the Water Supply Slowly: Open the shut-off valve gradually and check for any leaks around the repaired area. Tighten if necessary.
Test the Flush: Flush the toilet to check if the repair addressed the leak. Ensure the tank refills properly and the toilet flushes completely without leaks.
Important Considerations for PVC Repairs:
Safety Precautions: Wear gloves and safety glasses when working with tools and pipes.
PVC Pipe Cement (Optional): While not always necessary, using PVC pipe cement can strengthen connections on certain repairs (check product instructions).
Don't Over-tighten: Over-tightening nuts or connections can damage the PVC threads. Tighten snugly but firmly.
When to Call a Professional Plumber:
Extensive Leak or Pipe Damage: If the leak is significant or the PVC pipe is severely cracked or damaged, calling a professional plumber is recommended to assess the situation and determine the best course of action (repair or replacement).
Hidden Leaks or Wall Damage: Leaks that originate within the wall or cause water damage to the bathroom floor require professional attention to prevent further
issues.
Complex Plumbing Systems: For toilets with complex plumbing configurations or pressure-assisted flush mechanisms, a professional plumber can diagnose and repair external leaks more efficiently.
Limited Experience or Confidence: If you lack confidence in your ability to fix the leak or feel uncomfortable working with plumbing connections, don't hesitate
to call a professional plumber for a secure and lasting repair.
By carefully assessing the leak source, your skills, and the tools you have available, you can decide whether to tackle an external PVC flush tank repair yourself or call a professional plumber to ensure a leak-free and functional toilet system.
