Fixing a hot and cold water mixer leak can be a DIY project, but it depends on your comfort level and plumbing skills. Here's a breakdown to help you decide:
Suitable for Hot & Cold Water Mixer Repair (if you have):
Basic Plumbing Knowledge: Understanding how the mixer handles hot and cold water flow and how the cartridge or valve core works is helpful
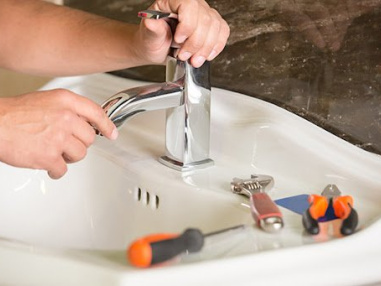
Standard Tools: Adjustable wrenches, screwdrivers, a bucket (to catch water), and possibly pliers or a replacement cartridge (depending on the problem).
Access to the Shutoff Valves: You'll need to shut off the hot and cold water supply valves for the faucet to prevent water flow while you work.
Steps Involved in Hot & Cold Water Mixer Repair (General Overview):
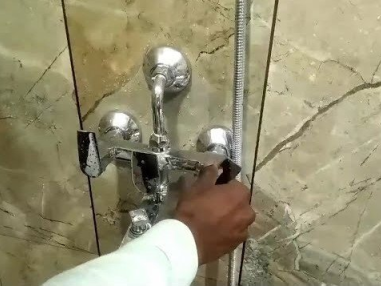
Turn Off the Water Supply: Locate the shut-off valves for the hot and cold water lines supplying the faucet. Turn them off completely clockwise.
Open the Faucet to Release Pressure: Open the handle of the faucet to relieve any remaining water pressure in the lines.
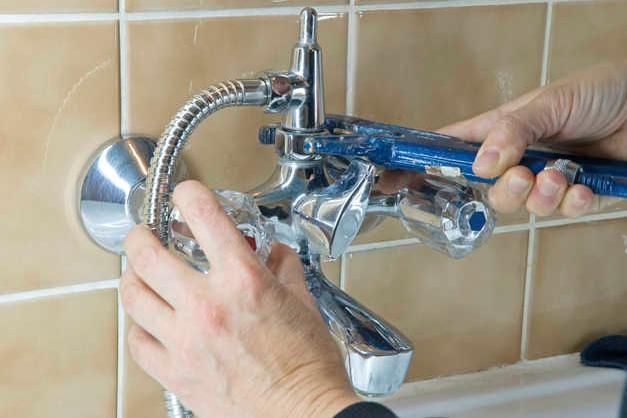
Isolating the Faucet (if applicable): Some faucets have a flexible braided hose connection below the sink. You might be able to disconnect these hoses from the shut-off valves to isolate the faucet for easier work.
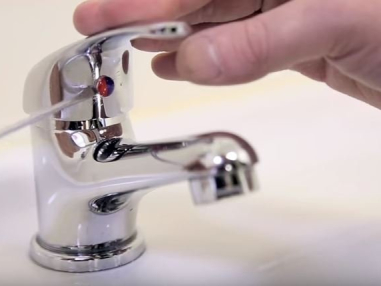
Identify the Handle Type: Most mixer taps have either a screw-on handle or a lever with a cap.
Remove the Handle:
Screw-on handle: Look for a small screw at the base of the handle. Use a screwdriver to remove it, then carefully pull the handle away.
Lever handle: There might be a small screw or cap at the base of the lever or on the side. Remove this to expose a screw holding the lever in place. Unscrew it and
carefully pull the lever away.
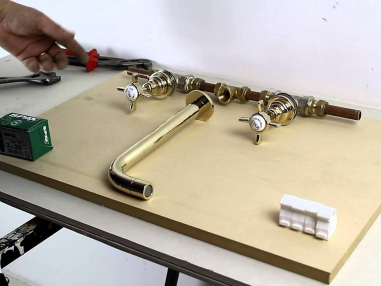
Access the Cartridge or Valve Core: Once the handle is removed, you'll see the cartridge or valve core (the part that controls water flow). It might be held in place
with a nut or clip.
Identify the Problem: Is the leak coming from the base of the handle, the cartridge itself, or the connection hoses?
Replacing the Cartridge (if applicable): If the cartridge is faulty, you'll need to replace it.
Note the brand and model of your faucet (usually stamped on the faucet body or handle) to find a compatible replacement cartridge.
Remove the old cartridge by unscrewing it or using a clip removal tool (depending on the design).
Install the new cartridge following the manufacturer's instructions.
Reassemble the Faucet: Tighten any connections securely but avoid over-tightening. Reattach the faucet handle and secure it with the screw or cap.
Turn on the Water Supply Slowly: Gradually turn on the hot and cold shut-off valves. Check for leaks around the connections and base of the faucet. Tighten if
necessary.
Test the Faucet: Turn on the faucet and adjust the handle to ensure hot and cold water flow properly and at the desired temperature.
Important Considerations for Hot & Cold Water Mixer Repair:
Matching Replacement Parts: Ensure the replacement cartridge or any washers you use are compatible with your specific faucet model.
Avoiding Over-Tightening: Over-tightening nuts or connections can damage the faucet. Tighten firmly but sensibly.
Following Instructions: If unsure about any step, consult the faucet's manual (if available) or search online for specific repair instructions for your model.
When to Call a Professional Plumber:
Extensive Leak or Damaged Parts: If the leak is significant or you discover damaged faucet parts beyond a simple cartridge replacement, call a professional plumber.
Hidden Leaks or Complex Faucets: Leaks in the wall behind the faucet or faucets with complex designs are best left to professional plumbers to avoid causing
further damage.
Limited Experience or Confidence: Don't hesitate to call a professional if you lack confidence in your DIY skills or feel uncomfortable working with plumbing
connections.
Related Services