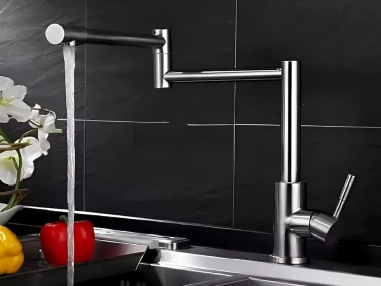
Table - Top Hot & Cold water mixer install (40 mins)
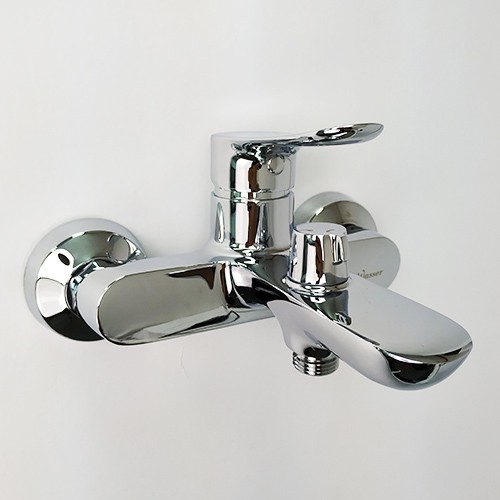
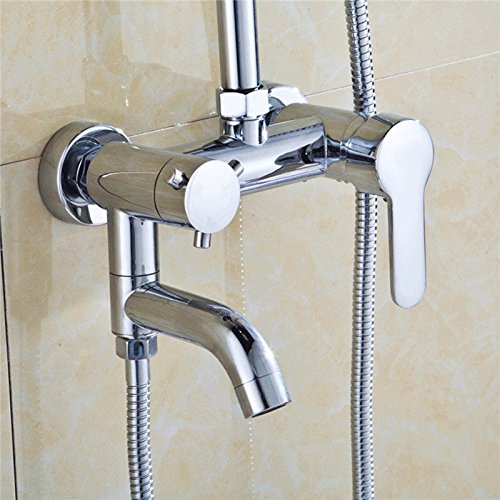
The table you provided for a table-top hot and cold water mixer installation is an excellent reference! Here's some additional information that might be helpful for a more general "Top Mount" or "Deck Mount" hot and cold water mixer installation (which includes table-top faucets)
Types of Top Mount/Deck Mount Mixers:
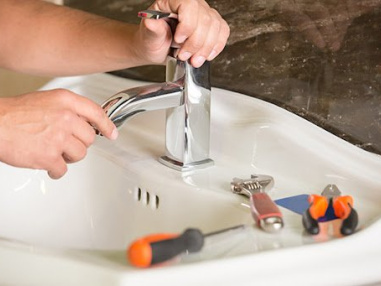
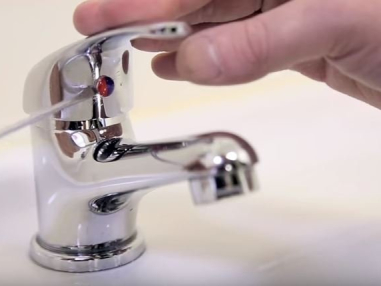
Single-hole faucets: These faucets have a single body with a spout and a lever handle that controls both hot and cold water temperature and flow.
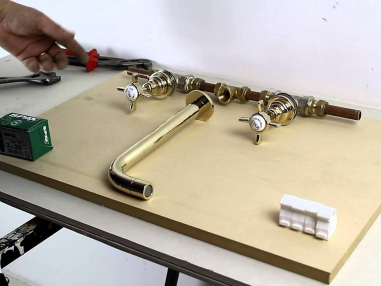
Widespread faucets: These faucets have separate hot and cold water tap bodies with individual spout holes and lever handles on the countertop.
Before you begin:
Gather the tools: adjustable wrenches, screwdrivers, basin wrench (for tight spaces under the sink if needed), bucket (to catch water), Teflon tape, and possibly a drill and drill bit (depending on countertop installation).
Ensure you have the new faucet, compatible with your existing plumbing (pipe size and hot/cold water connections) and countertop (number of holes).
Installation process (similar to the table you provided):
Turn off the water supply and relieve pressure from the faucet as mentioned in the table.
Prepare the countertop (if necessary): Drill holes for the faucet body and spout (if applicable) following the manufacturer's instructions and ensuring proper size
and placement.
Position the faucet body through the hole(s) and secure it from underneath the sink with mounting hardware (nuts, washers) using adjustable wrenches.
Connect the water supply lines: Using the faucet's hoses and adjustable wrenches, connect them to the shut-off valves and the corresponding hot and cold inlets on
the faucet body. Apply Teflon tape for leak-proof connections.
Install the faucet spout (if applicable): Some faucets have separate spouts that need to be attached to the body after the body is secured. Follow the manufacturer's instructions.
Install the faucet handles: Following the instructions, secure the hot and cold water handles onto the faucet body using screws or Allen keys.
Turn on the water supply slowly and check for leaks around the connections. Tighten if necessary.
Test the faucet operation: Turn on the hot and cold water and adjust the handles to ensure proper water flow and temperature control.
Additional Tips:
Basin wrench: If space under the sink is limited, a basin wrench can help tighten connections around the faucet body.
Flexible hoses: Most faucets come with pre-attached flexible hoses for easier connection. Ensure they are not kinked or overstretched during installation.
Shutoff valves: If your existing shut-off valves are old or leaky, consider replacing them during faucet installation for better control over future repairs or
maintenance.

