Wall-mount tap installations involve concealed plumbing and can be more intricate than typical faucet replacements. Here's a breakdown to help you decide if it's a DIY project for you
Suitable for Wall-Mount Tap Installation (if you have):
Strong Plumbing Skills: Understanding concealed plumbing systems, water pressure requirements, and proper drainage is essential.
Experience with Wall-Mounted Fixtures: Prior experience installing wall-mounted bathroom fixtures (cabinets, sinks) is beneficial.
Advanced Tools: You'll likely need a drill, level, wrench set, pipe cutters (in specific situations), stud finder, and possibly a hammer and chisel (depending on the installation).
Matching Replacement Tap (or knowledge of existing model): If replacing an existing tap, ensure the new model is compatible with the existing carrier frame and uses the same "rough-in" measurements (distance between the drain outlet and the wall).
Steps Involved in Wall-Mount Tap Installation (General Overview):
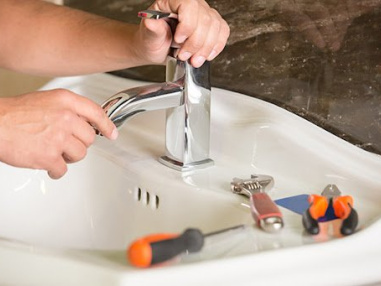
Turn Off Water Supply and Empty Tank: Locate the shut-off valve for the hot and cold water lines and turn them completely off. If replacing an existing tap, flush
the toilet to empty the tank and disconnect the water supply line.
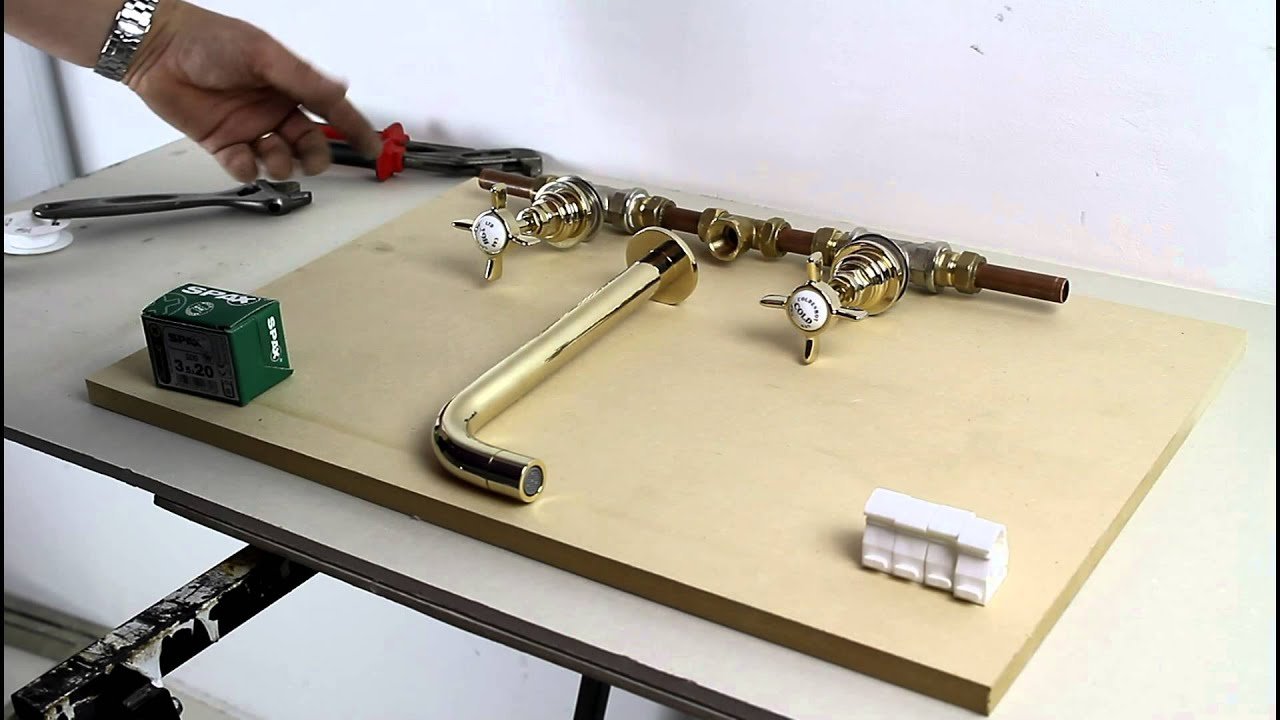
Install or Prepare the Carrier Frame (if applicable): Follow the manufacturer's instructions to secure the carrier frame to the wall studs using appropriate
fasteners. Ensure proper alignment and height based on the drain outlet and water supply connections. Use a level to ensure the frame is perfectly horizontal.
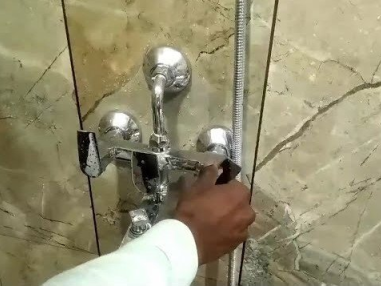
Connect Water Supply and Drainage: Connect the hot and cold water supply lines to the corresponding inlets on the carrier frame and the tap unit using flexible hoses. Ensure secure and leak-proof connections with Teflon tape. Connect the tap's waste outlet pipe to the drainage system, following the manufacturer's
recommendations.
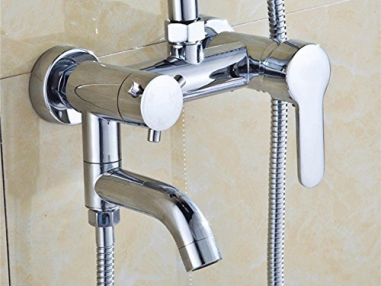
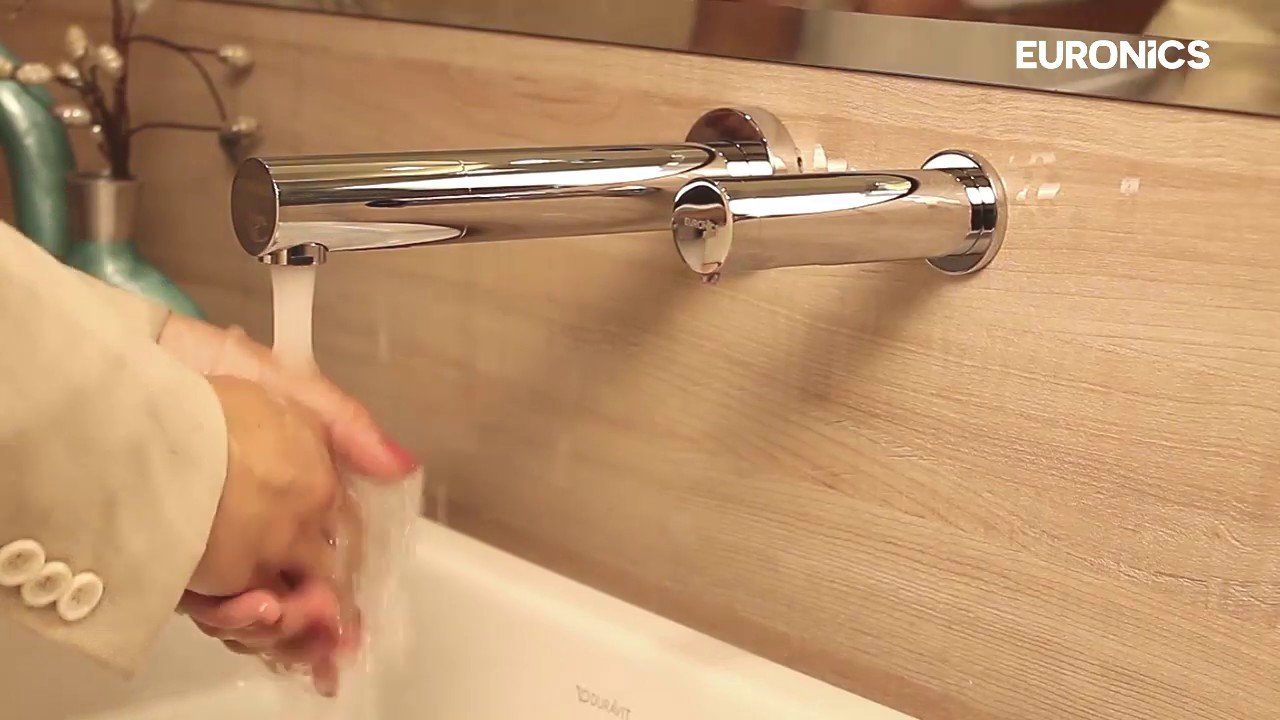
Mount the Tap Unit: Hang the tap unit onto the carrier frame, aligning it properly and following the manufacturer's instructions for securing it to the frame.
Install the Controls: Mount the control handles or levers onto the wall plate and connect them to the tap unit following the manufacturer's guide.
Leak Testing and Final Touches: Once everything is assembled, slowly turn on the water supply and check for leaks around all connections. Tighten if necessary
install any decorative trim or tap handles as needed.
Important Considerations for Wall-Mount Tap Installation:
Hidden Leaks: With concealed plumbing, even minor leaks can cause significant damage within the wall. Double-check all connections thoroughly during testing.
Consider a professional plumber for concealed plumbing leak testing if unsure.
Weight Support: Wall-mounted taps put stress on the wall. Ensure the carrier frame is securely fastened to studs that can handle the weight of the unit. Locate
appropriate studs for secure installation using a stud finder.
Precise Instructions: Improper installation can lead to leaks or malfunctions. Follow the manufacturer's instructions meticulously. Consult online resources or video tutorials specific to your tap model for a visual understanding.
When to Call a Professional Plumber:
Complex Plumbing Systems: If your bathroom has a complex plumbing layout or requires modifications to pipes for the tap, it's best to call a professional plumber.
Limited Experience or Confidence: Don't hesitate to call a professional if you feel uncomfortable working with concealed plumbing systems and weight-bearing wall installations.
Hidden Damage or Structural Concerns: If you suspect water damage behind the wall or have concerns about the wall's structural integrity (use a hammer and chisel cautiously to check for signs of damage), consult a professional plumber to assess the situation.
Extensive Repairs or Modifications: If the installation involves extensive repairs to your plumbing system or modifications to the wall, calling a professional
plumber is recommended.
Related Services