Here's a breakdown of a table-top tap installation process to help you decide whether you can handle it yourself
Suitable for Table-Top Tap Installation (if you have):
Basic Plumbing Knowledge: Understanding how the tap connects to the water supply and water flow within the faucet is essential.
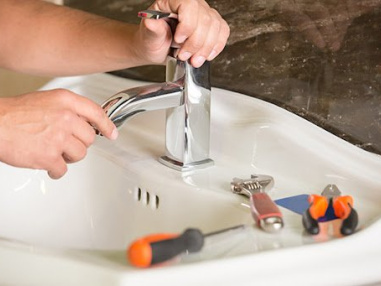
Standard Tools: Adjustable wrenches, screwdrivers, a bucket (to catch water), and possibly a basin wrench (for tight spaces under the sink) are usually enough.
Replacement Tap: Ensure the new tap is compatible with your existing plumbing (pipe size and configuration) and sink style (number of tap holes).
Steps Involved in Table-Top Tap Installation:
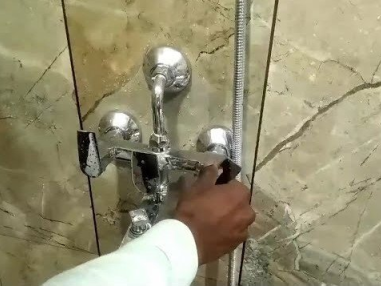
Turn Off the Water Supply: Locate the shut-off valves for the hot and cold water lines supplying the tap and turn them completely off using an adjustable wrench.
Open the Tap to Release Pressure: Open the handle of the tap to relieve any remaining water pressure in the lines.
Compression taps: Use adjustable wrenches to disconnect the nuts holding the tap body to the water supply lines from underneath the sink.
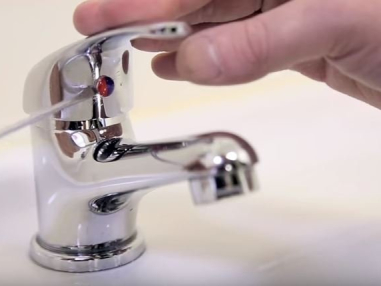
Single-hole taps with cartridge: There might be a nut or deck plate securing the tap from above the sink. Once removed, you can access the nut holding the tap body to the water supply line below the sink.
Remove the Old Tap: Carefully remove the old tap from the sink and discard it properly.
Prepare the Sinktop (if necessary): Some faucets may require drilling holes in the countertop for installation. Follow the manufacturer's instructions for drilling
and ensure proper hole size and placement.
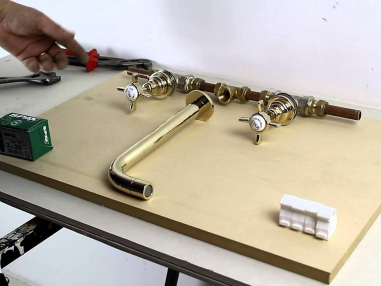
Position the New Tap: Place the new tap body with its base through the hole(s) in the countertop, ensuring proper alignment with the hot and cold water supply lines.
Attach the Mounting Hardware (from below): Depending on the faucet model, you might use threaded rods, nuts, and washers to secure the faucet body from underneath the sink. Tighten securely with adjustable wrenches.
Connect the Water Supply Lines: Most faucets come with flexible braided hoses for hot and cold water connections. Using adjustable wrenches, connect these hoses to the shut-off valves and the corresponding hot and cold water inlets on the faucet body. Use Teflon tape on the threads for leak-proof connections.
Install the Faucet Handles: Following the manufacturer's instructions, install the hot and cold water handles onto the faucet body. These might require screws or
Allen keys for securing.
Turn on the Water Supply Slowly: Gradually turn on the hot and cold shut-off valves. Open the faucet handles and check for leaks around the connections. Tighten if necessary.
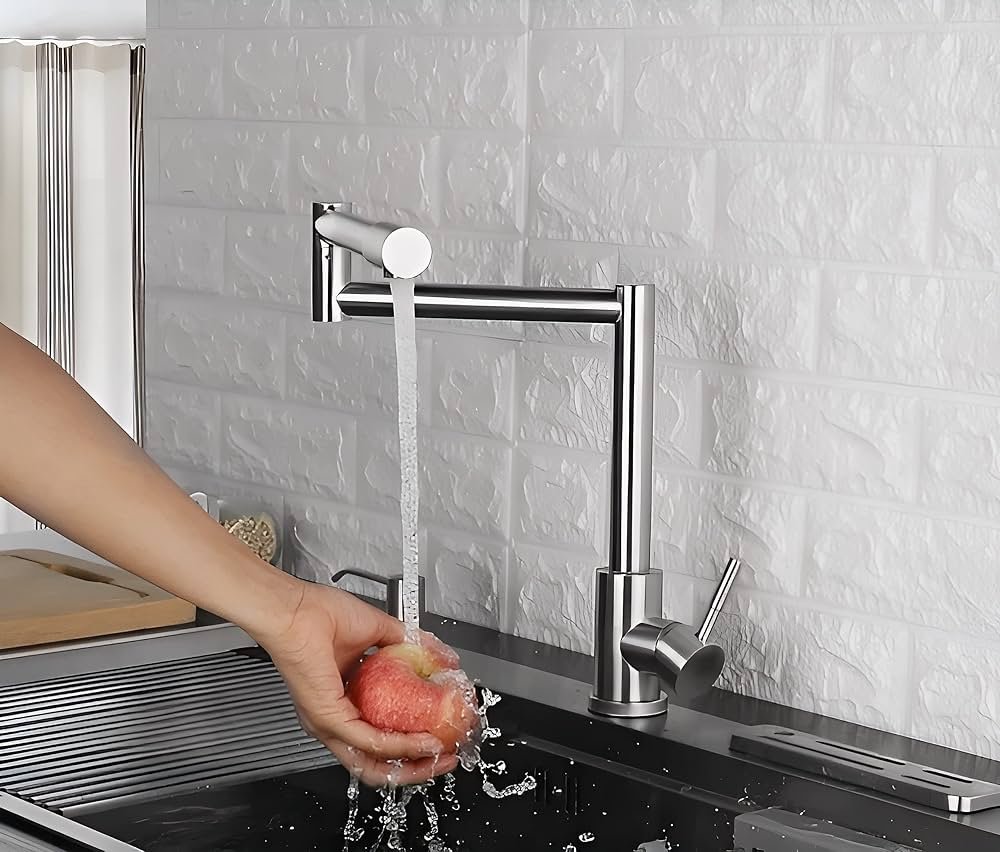
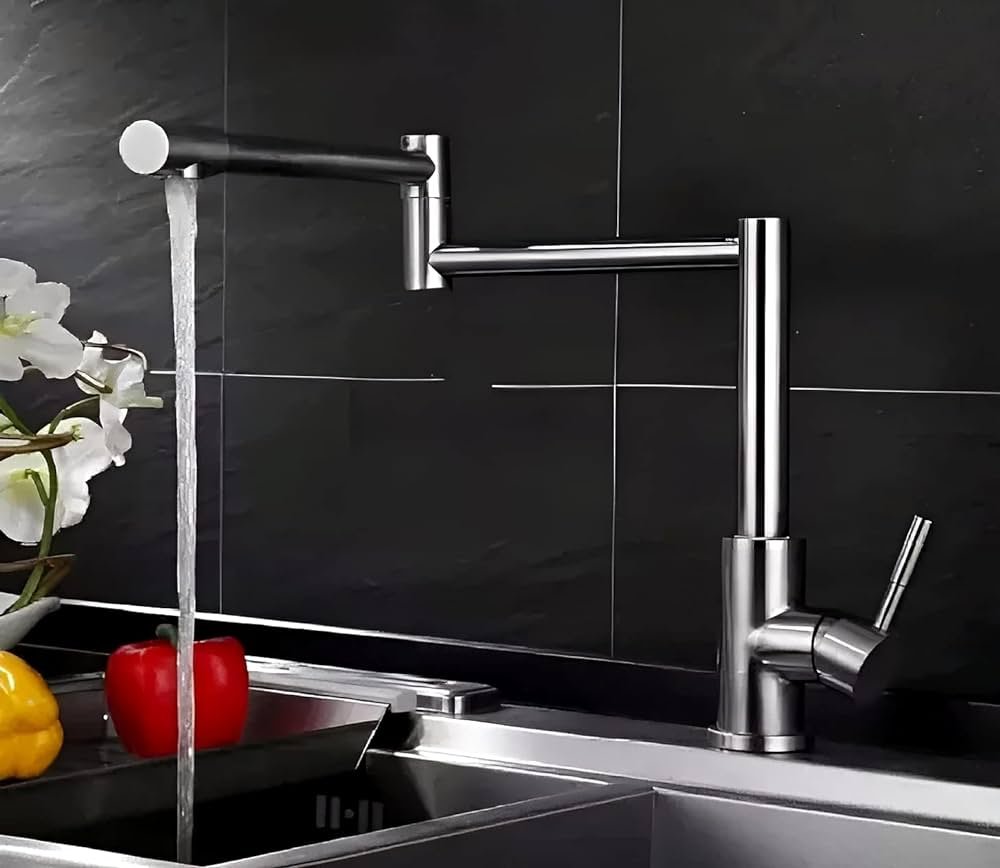
Test the Faucet Operation: Turn on the hot and cold water and adjust the handles to ensure proper water flow and temperature control.
Important Considerations for Table-Top Tap Installation:
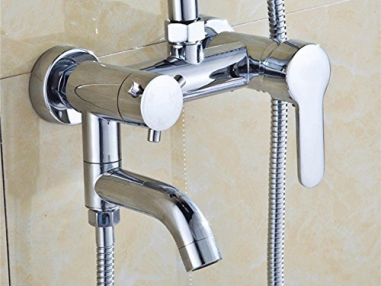
Matching Replacement Tap: Choose a tap that matches your existing plumbing configuration (pipe size and hot/cold water connections) and has the same number of tap holes as your sink. Refer to the manufacturer's instructions for compatibility information.
Following Instructions: Always refer to the new faucet's manual for specific installation steps, torque recommendations for connections, and any special tools
required (e.g., Allen keys for handle installation).
Leak Prevention: Double-check all connections for leaks during testing. Tighten or redo connections with Teflon tape if leaks persist.
Limited Experience: If you lack confidence in your plumbing skills or feel uncomfortable working with connections beneath the sink, consider calling a professional plumber for installation.
Related Services